Have you ever found yourself standing in your kitchen or bathroom, frustrated by the constant drip-drip-drip of a leaky sink faucet? It’s a common annoyance that many homeowners face. But have you ever wondered what causes these leaks and how you can fix them? In this comprehensive guide, we will delve into the hidden culprits behind leaky sink faucets, unraveling the mystery once and for all. By understanding the root causes and implementing the right solutions, you can save water, money, and prevent further damage to your plumbing system.
The Anatomy of a Sink Faucet
Before we dive into the causes of leaky sink faucets, let’s take a moment to understand the basic anatomy of a faucet. A typical sink faucet consists of several components, including the spout, handles, aerator, cartridge, and valves. Each of these parts plays a crucial role in the overall functioning of the faucet.
1. The Spout
The spout is the visible part of the faucet where the water flows out. It is connected to the body of the faucet and is responsible for directing the water into the sink.
2. The Handles
The handles are used to control the flow and temperature of the water. Most faucets have separate handles for hot and cold water, allowing you to adjust the water temperature to your preference.
3. The Aerator
The aerator is a small device attached to the end of the spout. Its primary function is to mix air with the water, reducing splashing and improving the overall flow.
4. The Cartridge
The cartridge is the heart of the faucet, controlling the flow and temperature of the water. It is responsible for regulating the movement of the handles and ensuring a smooth operation.
5. The Valves
The valves are located inside the faucet body and control the water flow. There are typically two types of valves: compression valves and ceramic disc valves. Compression valves are more prone to leaks due to their rubber washers, while ceramic disc valves provide better durability and longevity.
Now that we have a basic understanding of the components of a sink faucet, let’s explore the hidden culprits behind those frustrating leaks.
Common Causes of Leaky Sink Faucets
Leaky sink faucets can be caused by various factors. Identifying the root cause is crucial to finding the right solution. Here are some common culprits behind those persistent leaks:
1. Worn-out Washers
One of the most common causes of leaky sink faucets is worn-out washers. Over time, the constant friction between the washer and the valve seat can cause them to deteriorate, resulting in leaks. If you notice water dripping from the spout even when the faucet is turned off, it’s likely that the washers need to be replaced.
2. Faulty O-rings
O-rings are small rubber rings located around the valve stem, providing a watertight seal. When these rings become worn or damaged, they can cause leaks around the handle area. If you experience leaks from the handle, replacing the O-rings might solve the problem.
3. Corroded Valve Seats
Valve seats are the connection points between the faucet and the spout. Over time, these metal surfaces can become corroded, leading to leaks. A corroded valve seat often requires professional intervention, as it may need to be resurfaced or replaced to fix the issue.
4. Loose or Broken Parts
Loose or broken parts within the faucet can also contribute to leaks. Loose connections, damaged seals, or cracked cartridges can all result in water seeping out of the faucet. Inspecting and tightening any loose parts or replacing broken components can help resolve these issues.
5. High Water Pressure
Excessive water pressure can put strain on the faucet, causing it to leak. If your home has high water pressure, it’s advisable to install a pressure regulator to prevent damage to your plumbing system. By reducing the water pressure, you can minimize the risk of leaks in your sink faucet.
6. Improper Installation
Sometimes, leaky sink faucets can be traced back to improper installation. If the faucet was not installed correctly or if the components were not aligned properly, it can result in leaks. In such cases, it’s best to consult a professional plumber to reinstall or realign the faucet to ensure a proper fit.
7. Aging or Damaged Cartridges
Over time, cartridges can wear out or become damaged, leading to leaks. If you’ve tried other solutions and are still experiencing leaks, it might be necessary to replace the cartridge to resolve the issue. Consult the faucet manufacturer’s guidelines or seek professional help to ensure you choose the right cartridge for your specific faucet model.
Fixing Leaky Sink Faucets: A Step-by-Step Guide
Now that we’ve explored the common causes of leaky sink faucets, let’s discuss how you can fix them and regain control over your water usage and bills. Here’s a step-by-step guide to help you tackle those annoying leaks:
Step 1: Gather the Necessary Tools
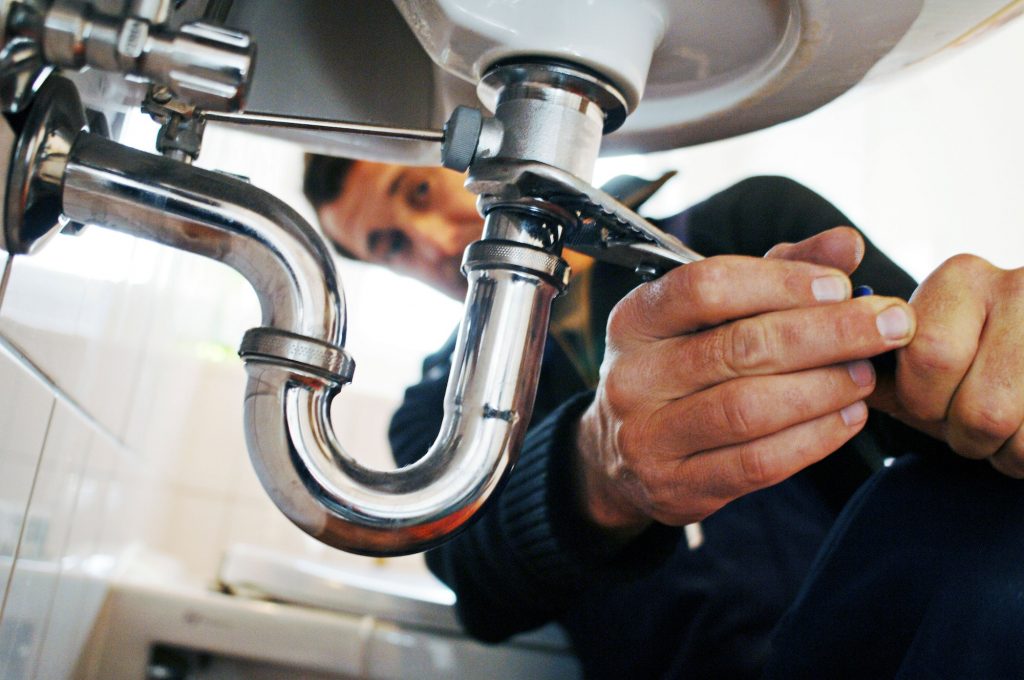
Before you begin fixing your leaky sink faucet, gather the necessary tools to make the process smoother. You may need an adjustable wrench, a screwdriver (flathead or Phillips), replacement washers or O-rings, plumber’s tape, and a cloth for cleaning.
Step 2: Turn Off the Water Supply
To prevent any water damage or mess, turn off the water supply to the sink. Look for the shut-off valves located under the sink and close them by turning them clockwise.
Step 3: Disassemble the Faucet
Using a screwdriver or wrench, carefully remove the handle and any decorative caps covering the screws. Once you’ve exposed the cartridge or valve assembly, take note of its configuration and orientation for easier reassembly.
Step 4: Inspect and Replace Worn-out Parts
Carefully inspect the washers, O-rings, and other components for wear or damage. If you find any worn-out parts, replace them with new ones of the same size and type. Apply plumber’s tape to the threads of any connections to ensure a watertight seal.
Step 5: Reassemble the Faucet
Once you’ve replaced the necessary parts, reassemble the faucet in the reverse order of disassembly. Ensure that all the components are properly aligned and tightened, but avoid over-tightening, as it can cause damage.
Step 6: Turn On the Water Supply and Test
After reassembling the faucet, turn on the water supply and test for any leaks. If you don’t notice any leaks, congratulations! You’ve successfully fixed your leaky sink faucet. If leaks persist, double-check the assembly and consider seeking professional assistance.
Conclusion
A leaky sink faucet can be a frustrating and wasteful problem to deal with. By understanding the hidden culprits behind those leaks and following the step-by-step guide provided, you can take control of the situation and fix the issue yourself. Remember to regularly inspect and maintain your faucets to prevent future leaks and ensure the longevity of your plumbing system. With a little knowledge and the right tools, you can save water, money, and the hassle of dealing with a leaky sink faucet.


