Welcome to our comprehensive guide on fixing loose sink mounting brackets! If you’re tired of dealing with a wobbly or unstable sink, you’ve come to the right place. In this article, we’ll walk you through the step-by-step process of addressing this common issue and provide you with valuable tips to ensure a secure and stable sink for years to come. Say goodbye to the frustration of a loose sink and hello to a hassle-free DIY solution!
Understanding the Problem: Why Do Sink Mounting Brackets Become Loose?
Before we jump into the solution, let’s take a moment to understand why sink mounting brackets can become loose in the first place. Over time, the constant use of the sink, water exposure, and even improper installation can cause the brackets to loosen. This can lead to a wobbly sink, water leakage, and potential damage to surrounding countertops or cabinets.
To tackle this issue effectively, it’s crucial to identify the underlying cause. Loose sink mounting brackets can be attributed to factors such as:
- Wear and Tear: The repeated weight and movement of the sink can cause the brackets to loosen over time.
- Water Damage: If the brackets are exposed to water or moisture, they may corrode or weaken, resulting in instability.
- Incorrect Installation: If the sink was not properly installed or the brackets were not securely fastened during the initial setup, they can come loose later on.
Now that we understand the potential causes, let’s dive into the step-by-step process of fixing loose sink mounting brackets.
Step 1: Preparation and Safety Measures
Before you begin any DIY project, it’s essential to ensure your safety and gather the necessary tools and materials. Here’s what you’ll need to get started:
- Basin wrench
- Adjustable wrench
- Screwdriver (flathead and Phillips)
- Plumber’s tape
- Replacement brackets (if needed)
- Safety goggles
- Gloves
Remember to turn off the water supply to the sink and disconnect any plumbing connections before proceeding. Safety should always be a top priority!
Step 2: Accessing the Sink Mounting Brackets
To gain access to the sink mounting brackets, you’ll need to locate them beneath the sink. Depending on the type of sink and installation, you may find the brackets attached to the countertop, cabinet, or wall. Use a flashlight to facilitate visibility in tight spaces.
Step 3: Tightening the Brackets
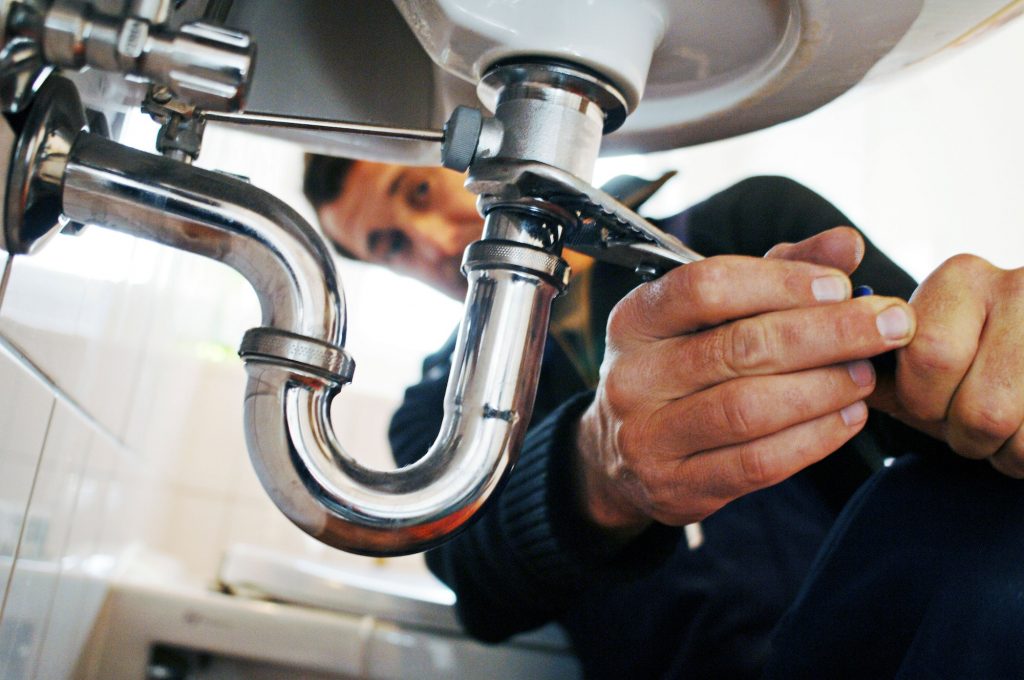
Using an adjustable wrench or basin wrench, carefully tighten the mounting brackets. Start with a gentle tightening motion and gradually increase the pressure until the brackets are securely fastened. Be cautious not to overtighten, as this can lead to damage or breakage.
If the brackets are damaged or corroded beyond repair, it’s advisable to replace them with new ones. This will ensure a longer-lasting fix and prevent future issues.
Step 4: Reconnecting the Plumbing
Once the brackets are securely tightened or replaced, reconnect the plumbing connections. Use plumber’s tape to create a watertight seal and prevent any leaks. Double-check all connections and ensure there are no loose fittings.
Step 5: Testing and Final Adjustments
Now, it’s time to put your DIY skills to the test! Turn on the water supply and check for any leaks or wobbling. If everything looks stable and secure, congratulations! You’ve successfully fixed your loose sink mounting brackets.
Conclusion
In conclusion, fixing loose sink mounting brackets doesn’t have to be a daunting task. With the right tools, materials, and a little DIY know-how, you can easily tackle this common issue and restore stability to your sink. Remember to prioritize safety, identify the underlying cause, and follow the step-by-step process we’ve outlined.
By taking matters into your own hands, you not only save time and money but also gain the satisfaction of a job well done. Don’t let a loose sink dampen your daily routine. Empower yourself with the knowledge and skills to fix it in a snap!

